Whether you want to replace a worn-out doorknob, upgrade to a stylish handle, or fix a broken lock, new door hardware can breathe fresh life into your home’s entrances. But before shopping for that perfect replacement, you must know how to remove the old hardware and install the new one correctly.
So, grab your toolbox, and let’s get started on this hardware replacement adventure!
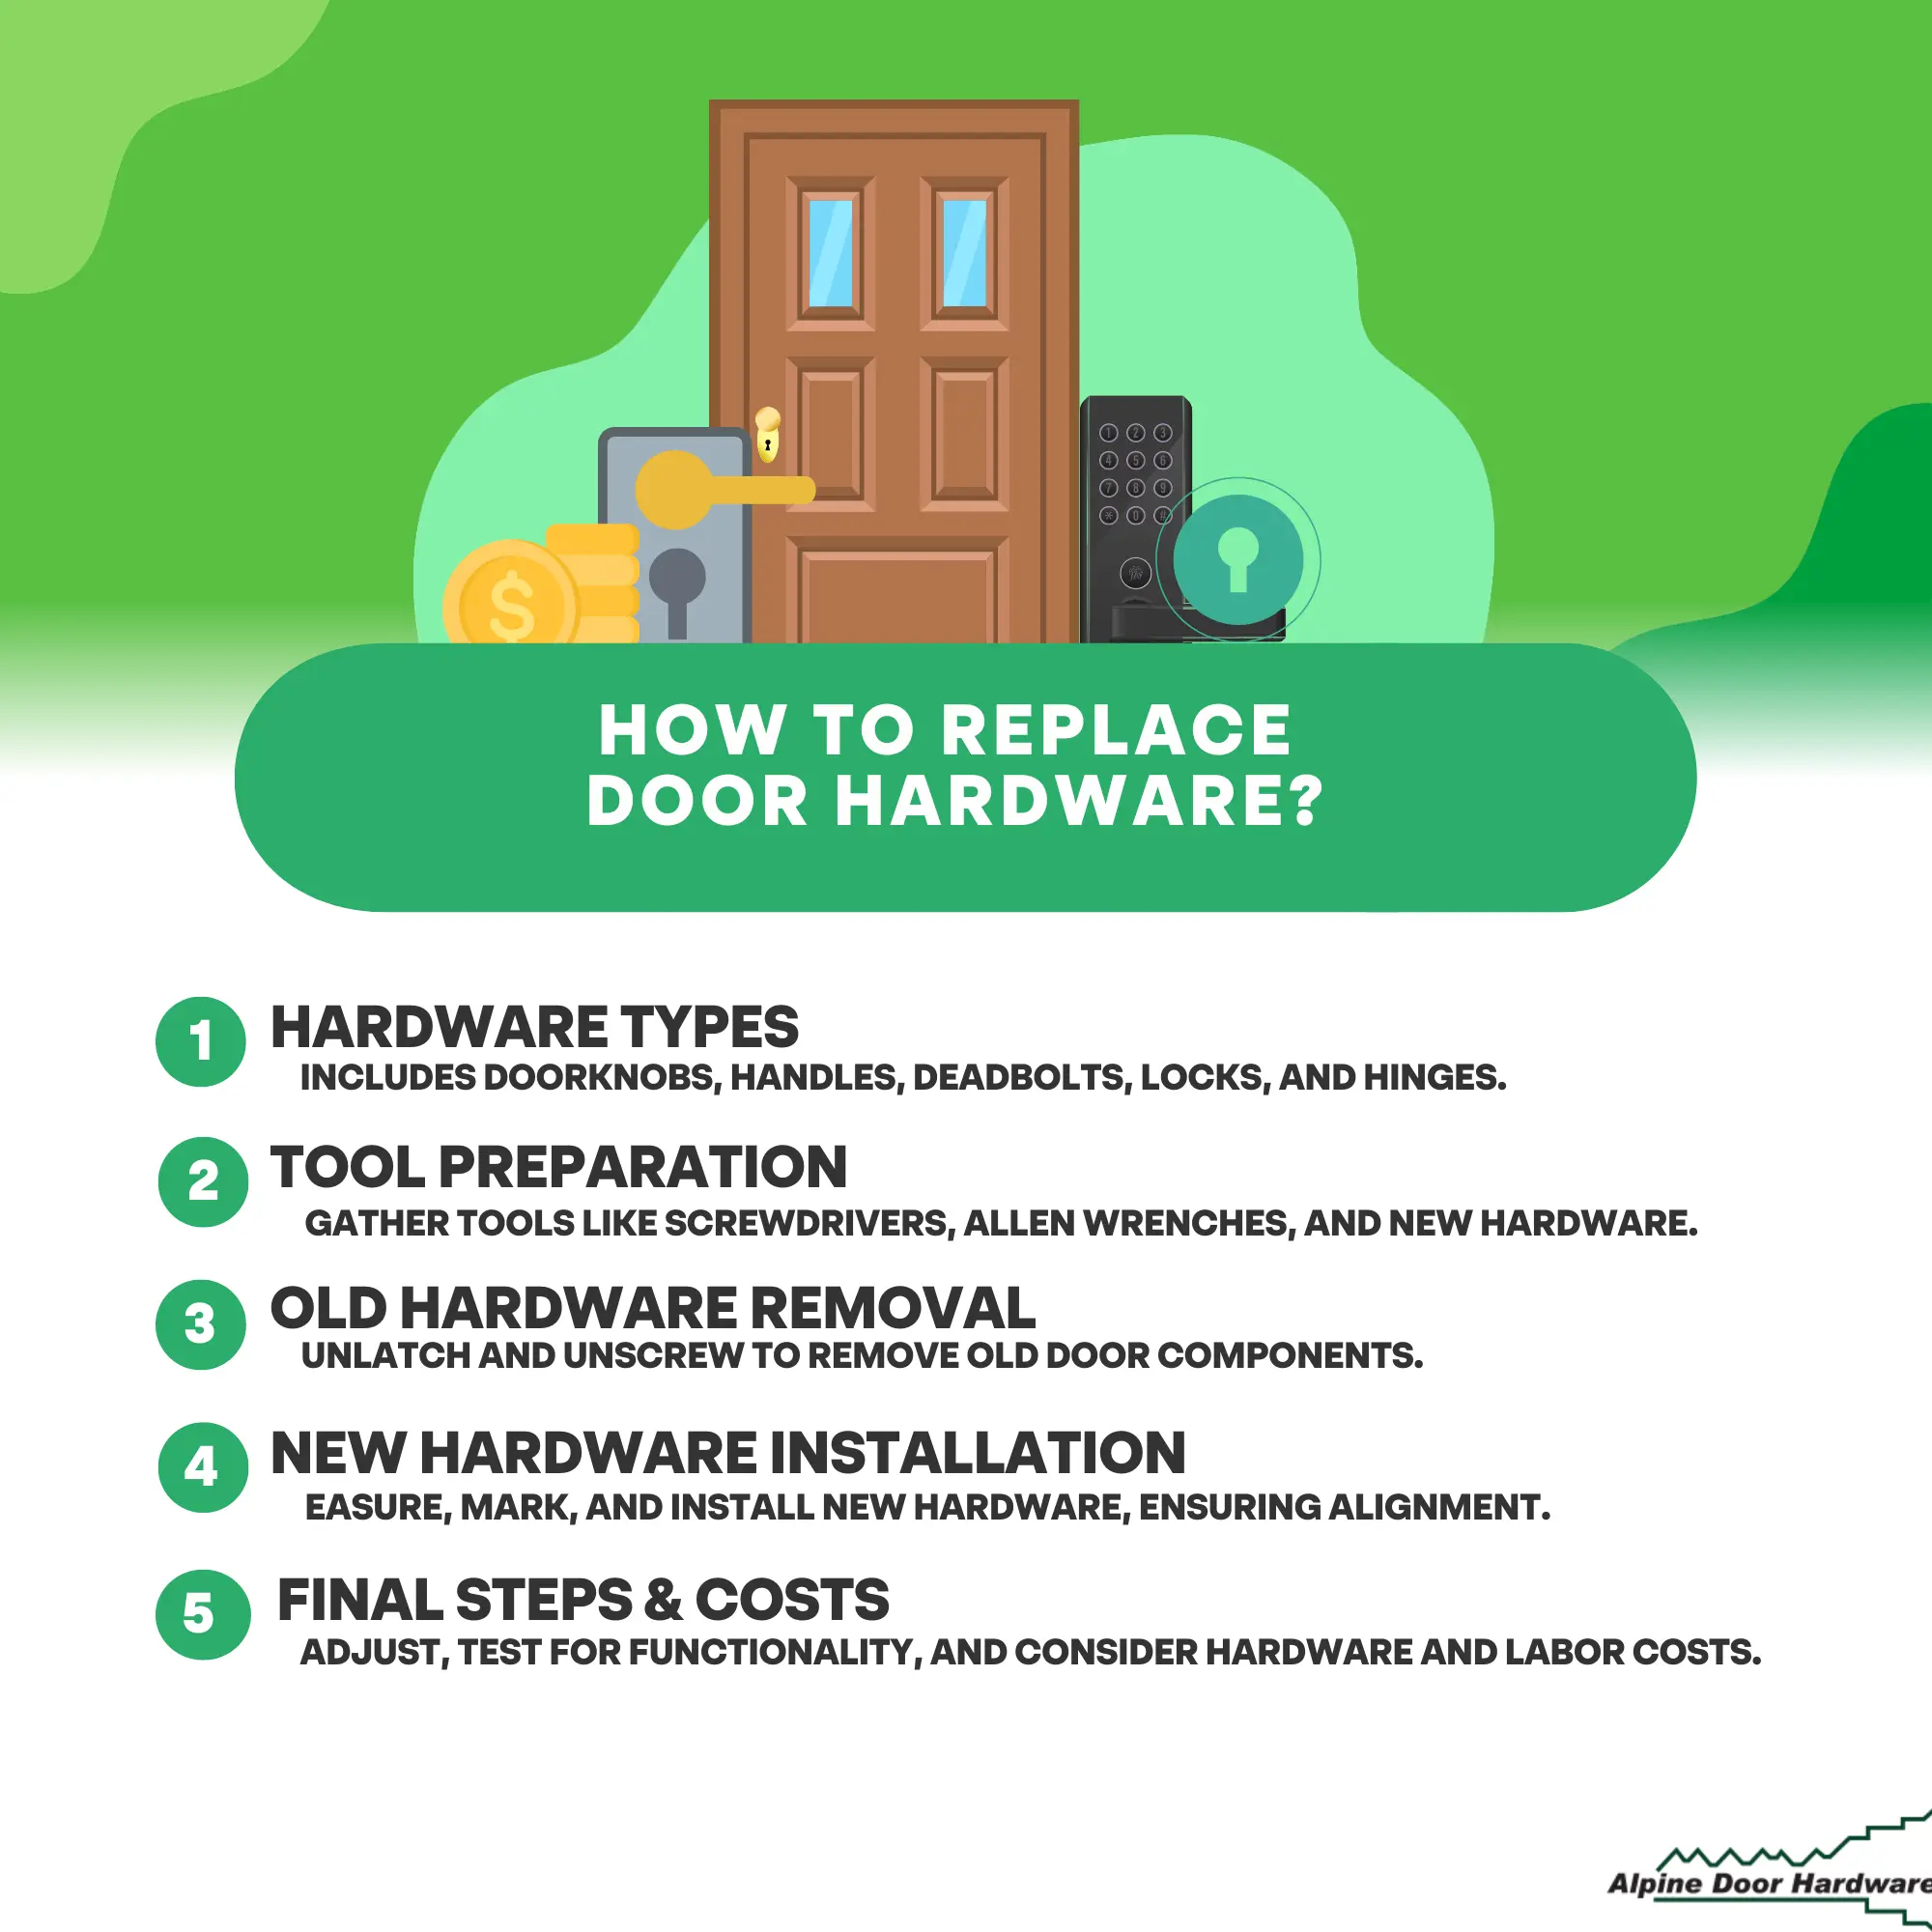
Types of Door Hardware
Before we dive into the nitty-gritty of the replacement process, let’s familiarize ourselves with the different types of door hardware. Knowing these will help you identify what you need to replace and give you a better understanding of how everything fits together. The main types of door hardware are:
- Doorknobs
- Door handles
- Deadbolts
- Door locks
- Door hinges
Each component serves a specific function in securing and providing access to a door. Doorknobs and handles are the primary means of opening and closing a door, while deadbolts and locks offer additional security.
On the other hand, door hinges are the unsung heroes that allow the door to swing open and close. Understanding the type of door hardware you have will be crucial in selecting the correct replacement and ensuring a smooth installation process.
Step-by-Step Guide to Replace Door Hardware
Now that you’re familiar with the different types of door hardware, let’s dive into the step-by-step process of replacing it. Whether you’re a DIY enthusiast or a first-time fixer, these simple instructions will help you confidently tackle the task.
Step 1: Collect essential tools and materials.
Like any good DIY project, the first step is to gather the tools and materials you’ll need for the job. What you need will depend on the type of hardware you’re replacing, but here are some everyday items you should have on hand:
- Screwdriver (typically a Phillips or flathead)
- Allen wrench (if your existing hardware has set screws)
- Tape measure
- Pencil or marker
- Replacement hardware (new doorknob, handle, lock, etc.)
- Strike plate (for doorknob or handle replacements)
- Faceplate (for lock replacements)
- New hinges (if existing ones are damaged or you want to change the finish)
- Wood filler (if you’re changing the location of the hardware and need to fill old holes)
- Chisel (if you’re replacing a door hinge and it’s recessed into the door frame)
Once you’ve gathered all these items, you’re ready to move on to the next step.
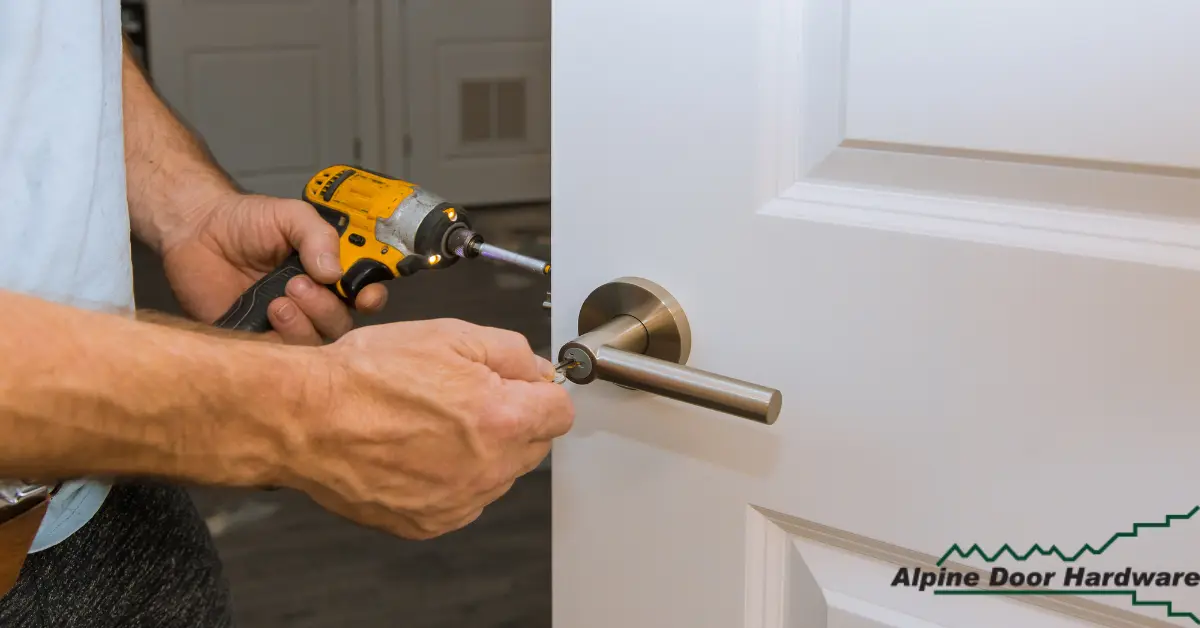
Step 2: Remove the old door hardware.
Let’s get down to business and remove the old door hardware. The specific removal process can vary depending on the type of hardware you’re replacing, but here are the general steps to follow:
- Examine the existing hardware and look for any screws, pins, or decorative covers.
- Use the appropriate tool, such as a screwdriver or Allen wrench, to remove these fasteners and any other visible screws.
- Gently pull or unscrew the old hardware, being careful not to damage the door or surrounding trim.
If you’re replacing a doorknob or handle:
- Look for a small latch or screw on the side of the knob or handle.
- Depress the latch or unscrew the screw to release the knob or handle from the door.
If you’re replacing a deadbolt or lock:
- Remove the screws securing the faceplate on the edge of the door.
- Take out the old lock mechanism from the door.
If you’re replacing a door hinge:
- With a chisel and hammer, carefully tap the hinge plates to remove them from the recessed area of the door and door frame.
- Once the plates are free, lift the door away from the frame, separating it from the old hinges.
Put the old hardware aside; you’re almost halfway through the replacement process!
Step 3: Measure and mark the door for the new hardware.
Before installing the new hardware, you’ll need to measure and mark the door in the appropriate spots. The exact measurements and locations can vary depending on the type of hardware you’re installing, but here are some general guidelines to follow:
If you’re replacing a doorknob:
The measurement required is the distance from the edge of the door to the center of the existing lock (standard height is around 36 inches). Use this measurement to mark the same height on the door for the new knob.
If you’re replacing a door handle:
Measure the distance from the bottom of the door to the center of the existing handle. Use this measurement to mark the same height on the door for the new handle.
If you’re replacing a deadbolt or lock:
Measure the distance from the edge of the door to the center of the existing lock (standard placement is typically 6 or 9 inches from the doorknob’s center). Use this measurement to mark the same location on the door for the new lock.
If you’re replacing a door hinge:
No need for measurements here! Simply align the new hinge with the existing recessed area on the door and frame. Mark the hinge’s screw holes on the door and frame.
Once you’ve made the necessary marks, set the new hardware aside, and get ready for the next step.
Step 4: Prepare the door for the new hardware.
If you’re replacing a doorknob or handle:
- Using the appropriate tool (screwdriver or Allen wrench), remove the latch mechanism from the new knob or handle.
- Insert the latch into the edge of the door, making sure it is properly secured. Ensure also that the curved side faces the direction the door closes.
- Secure the latch in place with the screws provided.
If you’re replacing a deadbolt or lock:
- Insert the new lock cylinder into the hole in the door, ensuring the keyed side faces the exterior.
- Secure the lock in place with the screws provided.
If you’re replacing a door hinge:
- Align the new hinge with the screw holes you marked on the door.
- Secure the hinge to the door with the screws provided.
Easy, right? Now, let’s move on to the final steps.
Step 5: Install the new door hardware.
The moment has arrived to install the new door hardware and bring your replacement efforts to a satisfying close. The process will change depending on the type of hardware you’re replacing, but here are the general steps to follow:
If you’re replacing a doorknob or handle:
- Hold the new knob or handle on the door, aligning it with the latch mechanism.
- Insert the spindle through the latch and into the back of the knob or handle.
- Gently test the new hardware by turning it to ensure it operates smoothly.
If you’re replacing a deadbolt or lock:
- Insert the new lock mechanism into the door, ensuring it aligns with the latch.
- Secure the faceplate to the edge of the door with the screws provided.
If you’re replacing a door hinge:
- With the door in a slightly closed position, align the new hinge plates with the screw holes you marked on the frame.
- Secure the hinge plates to the frame with the screws provided.
Once your new door hardware is installed, it’s time to add the last touches and make sure everything is functioning correctly.
Step 6: Final Adjustments and Testing
After installing the new hardware, it’s important to do the required adjustments to ensure a perfect fit and smooth operation. Follow these steps:
- Check the alignment: Make sure the new hardware aligns correctly with the door and frame. Adjust as needed.
- Test the function: Open and close the door several times to check the ease of use. The door should swing smoothly without any sticking or resistance.
- Adjust the latch or lock: If the latch or lock is not catching properly, adjust the strike plate position on the door frame.
- Tighten all screws: Ensure that all screws are tight and secure, but be careful not to over-tighten and strip them.
With these adjustments, your door hardware should be fully functional and provide a secure and stylish addition to your home.
Cost Considerations for Replacing Door Hardware
Regarding replacing door hardware, cost is an important consideration, especially if you’re hiring a professional for installation. Here’s a brief overview of potential costs:
- Hardware Cost: Prices for new door hardware can vary widely based on style, material, and brand. Basic doorknobs and handles might start at $20-$30, while high-end or specialty items can cost several hundred dollars.
- Labor Cost: If you’re not doing it yourself, professional installation costs can range from $40 per hour. It depends on where you are and how complex the job is. You can also expect the rate to go up to $100 per hour.
- Additional Materials: Don’t forget to factor in the cost of any extra materials like wood filler or new screws, which can add to the overall expense.
By considering these costs, you can budget effectively for your door hardware replacement project.
Conclusion
Replacing door hardware is a great way to update the look of your home and enhance security. Whether you’re a DIY enthusiast or prefer professional installation, understanding the process, types of hardware, and associated costs is critical. With our guide you will have enough tips for another successful next-door hardware replacement project.
Find the Best Door Hardware at Alpine Door Hardware!
Start to find the best Park City Door Hardware at Alpine Door Hardware. Transform your home’s doors with our exceptional selection. Whether you’re seeking a contemporary upgrade or a timeless design, our collection is sure to impress. Visit us today for all your door hardware needs!